When we first viewed our house with our Realtor in January, there were many things we loved and also many things we said we'd like to change (which, in my opinion, is the perfect combo!). Some needed immediate attention, like the canary yellow walls, and some fell into the wouldn't that be cool eventually category. The kitchen, however, wasn't on either of those lists--I liked it just the way it was. In fact, I'd say it was the main selling point (or at least top 3).
So, naturally, we got to work on it right away!
You know how when you move into a house, especially one that was previously owned by someone with drastically different taste than you, it feels like you are living in someone else's space. I think that was one reason we decided to paint our kitchen cabinets--we needed to do something with impact. We had the yellow walls professionally painted, along with several other rooms, but since we didn't do that ourselves, it didn't satisfy. It felt like we lived in someone else's house, only they let us pick the paint color this time.
We did get our painter to give us an estimate to paint our cabinets (just for giggles) and he came back at $1700! He said the price was mostly for labor, and after doing it ourselves, we totally understand. This is a huge undertaking, but we did it ourselves for around $250 AND we added things that our painter wouldn't have done, like beadboard wallpaper insets!
I should mention, we weren't living in our house at the time which made this project MUCH easier to tackle.
Here is our kitchen before (picture from the listing):


Not too bad, right? With the table gone, it's really open and we have a ton of counter space! But think of what it could be with a little paint and about 1.5 million hours of labor?!? Let's do it.
First, we took off all the doors and pulled out all the drawers. I cleaned them all really well before we got started.


It was so nice to use our empty living room at a makeshift workshop!

Now for the fun part...paintable beadboard wallpaper insets (great tips in this tutorial)! These are so incredibly easy to do and they add so much to plain kitchen cabinets. I bought two rolls from Lowes (at $20 each, they're a steal!), and only needed a couple feet from the second roll (each roll is 56 square feet).
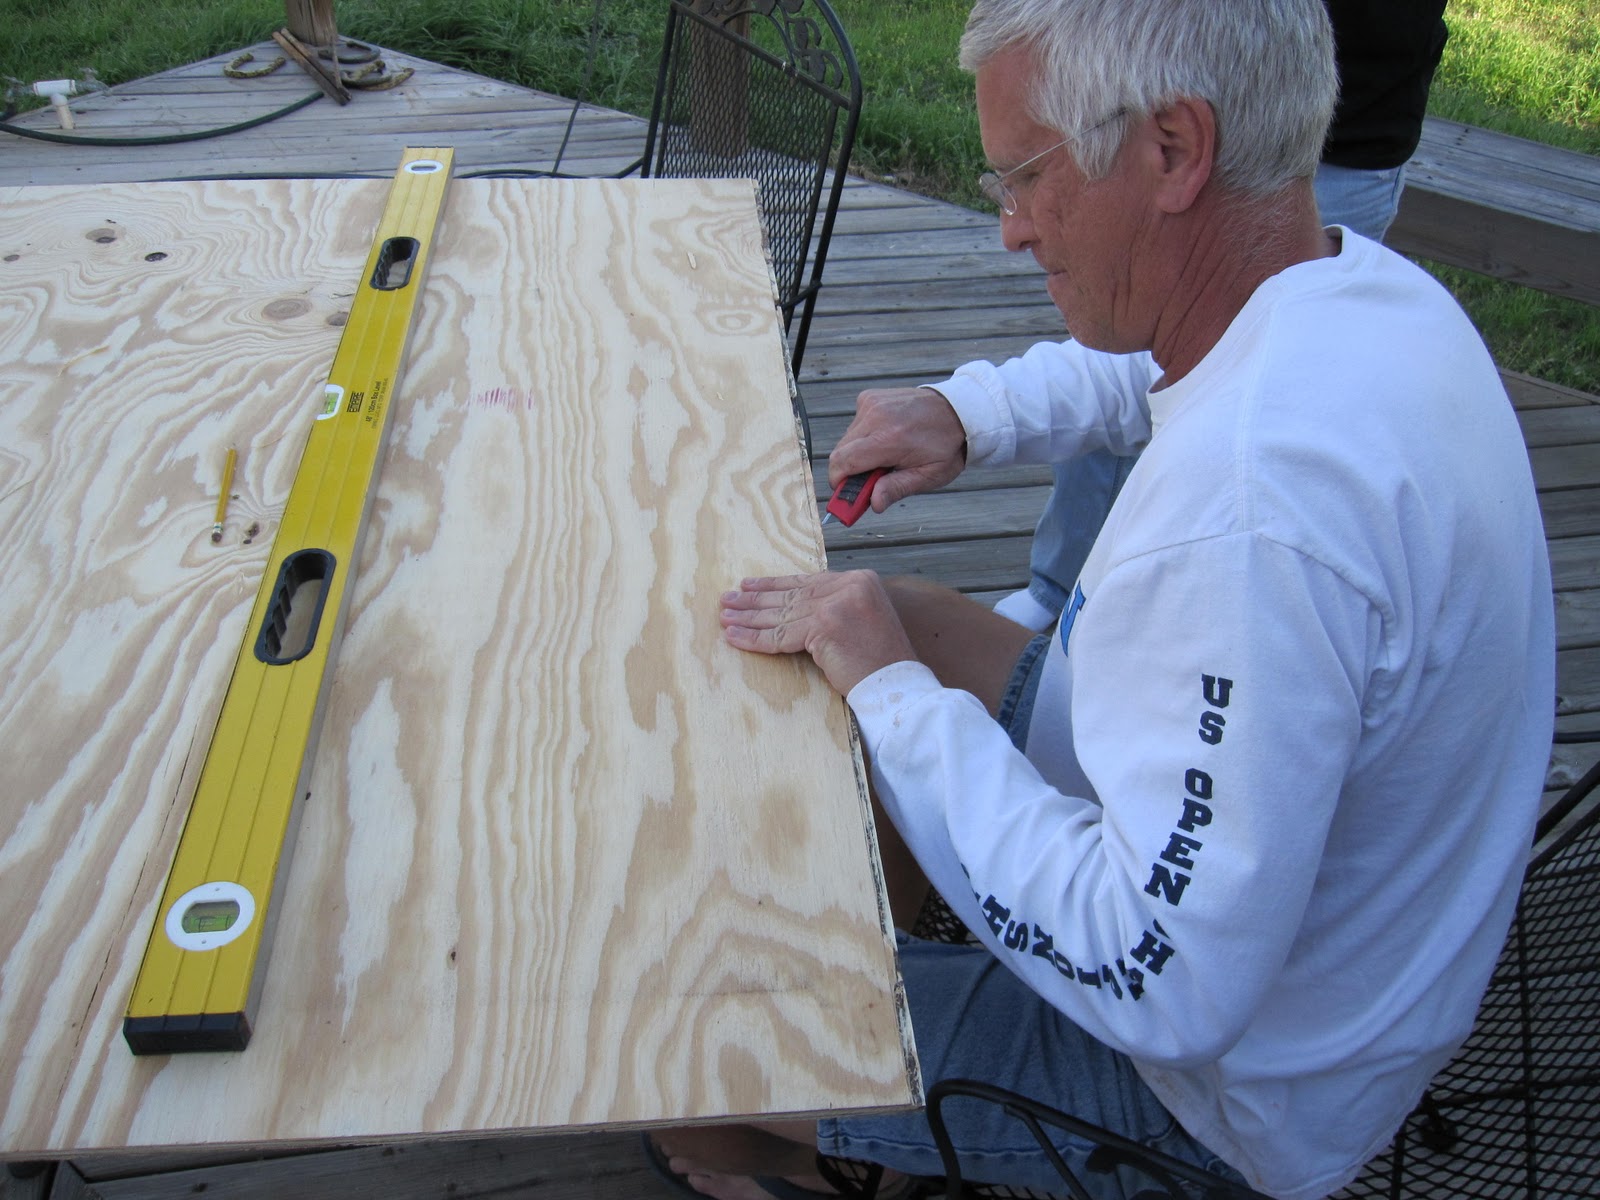
Cut your pieces before you wet the adhesive. I had 4-5 different sizes of insets, so I'd cut one and use it as a template for the rest of the cabinets of that size. It's not too important to cut them exactly the right size because you'll caulk around the edges which will cover any spots where you are a little short/long/wonky.
I'm a measure once, cut once type of girl. Aint nobody got time for measuring 8000 cabinet insets twice.
The back already has adhesive, so I used a spray bottle with tap water to get the back pretty wet. Since the cabinets are horizontal, it's okay for it to have a little excess water on it. If you don't have enough water it won't activate the adhesive as well and you'll get some areas around the edges that don't want to stick. You can fold the edges into the center and let the adhesive set up for a few minutes.

You don't have to worry about the back being too wet because your cabinets will be horizontal until it's dry.
When you put the insets in, you should be able to slide them around and get them into place. If you are having a hard time sliding, you may not have used enough water, or you may have let them set up too long. Just re-wet and stick again. Easy!

I put all the insets in and let them dry overnight.

Make sure to use paintable caulk!
We also put beadboard on the back of the open areas and where we have glass cabinets.


I ordered these bin cup drawer handle pulls (X19) and these matching knobs for the cabinets (X24). Including shipping, I replaced my entire kitchen hardware for under $75! I was a little nervous ordering sight unseen, but it worked out. They are high quality, heavy, and didn't have any dings or imperfections! I also sold our old hardware on Craigslist for $30, so I netted $45 for new kitchen hardware!
We put the doors back on and put our new hardware on and called it a day! I'm so pleased with the outcome. The hardware and beadboard make all the difference!


It took us several weeks to complete, but we were not living in the house and were mostly working on the weekends.
We love how open and airy it feels now!
BEFORE:

AFTER:

Have you used textured, paintable wallpaper? Do you love it? I think it's the perfect touch for our otherwise boring cabinet doors!